After placing your order, it's time for the fun part - artwork design and submission!
Before uploading your artwork, please take a moment to review the list of design Pitfalls to Avoid, below. If you are unsure about the design process, or need more details regarding any of the following items, please refer to our Artwork Guidelines.
If you hit a snag at any point, please don't hesitate to contact our Graphics & Prepress Department at [email protected].
-

Submitting an old template file
Make sure to download the latest template from the link in your order confirmation email, or by clicking the DESIGN TEMPLATE link on the product page. -

Poor file size & resolution
Your artwork should be built using our template file, without adding bleeds or changing the size in any way. When using images, use the highest resolution (the most number of pixels) you can find. -

Improper color & transparencies
For best results, build everything in CMYK color using the GRACoL profile. Try to avoid using complex multi-layered transparencies. -

Pixelated text
For sharpest output, all text should be built as vector (fonts), not pixels. -

Technical layers are visible
Make sure to hide or delete all technical (non-printing) layers before saving and uploading your artwork. -

Low quality file format
Save your file as a PDF using the PDF/X-4 preset for best results. Try to avoid formats that only support pixels and/or which create excessively large file sizes (such as: PSD, TIF, JPG, PNG, etc) -

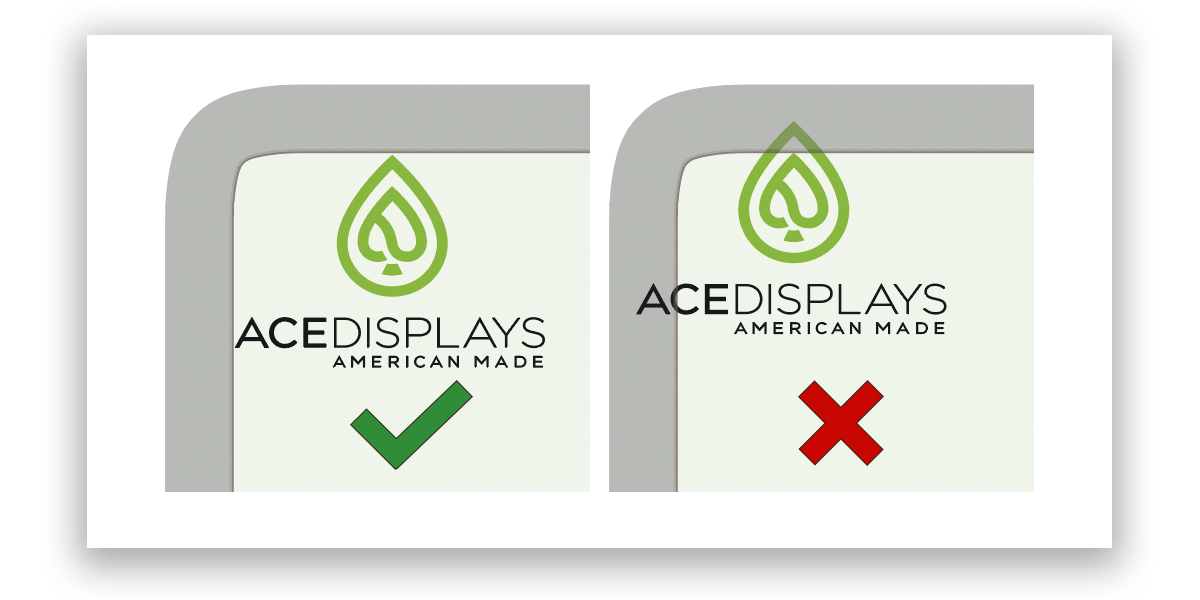
Disregarding artwork areas
Keep critical content (text, logos, etc) inside the green "safety" line on the template. If your artwork has any "crossover," pay careful attention to the trim and "visible edge" on the template.
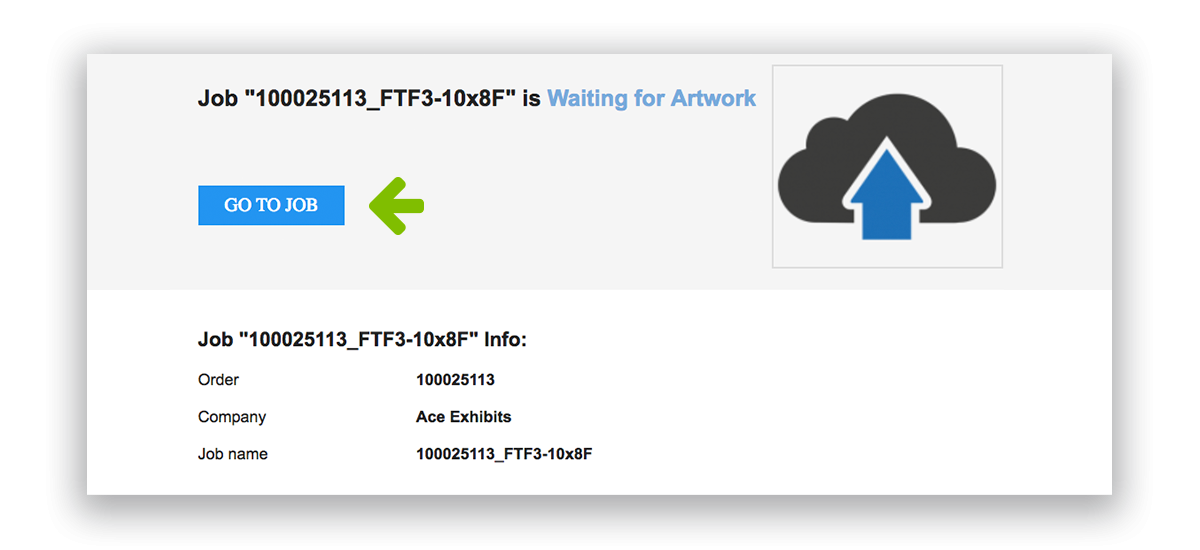
Once your order is placed, please allow us a little time to verify and create your order in our artwork approval system, also known as InstaProof. As soon as your order is verified you will receive an email notifying you that an Order has been created in our approval system and that there is a Job which is Waiting for Artwork.
While "Order" is pretty clear in definition, think of the term "Job" as "Graphic Product."
For example, if you’ve ordered a Display and a Podium Graphic, your Order will contain two Jobs. Both Jobs will need to have artwork uploaded and approved before the Order can move into production.
Once you receive the Instaproof email, click the button that says "GO TO JOB". This button is a link which will open in your web browser, taking you directly to the Job in Instaproof.
With Instaproof open, you will see that your artwork is Waiting for Artwork. To upload your artwork, either click the Upload Artwork button to browse your computer for your artwork file, or drag-and-drop your artwork directly onto the window.
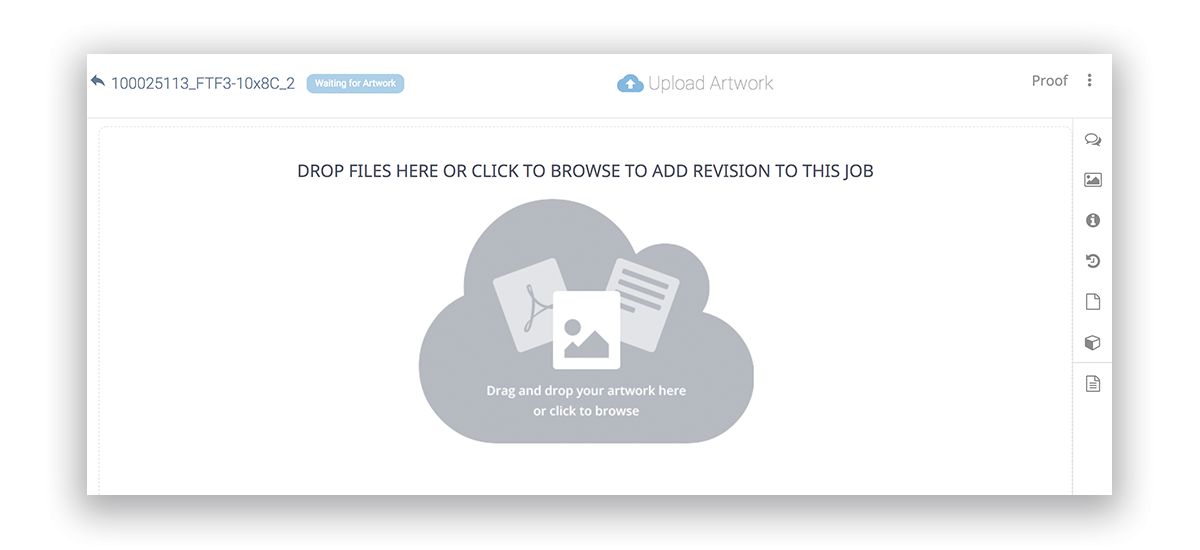
DON’T CLOSE YOUR BROWSER WINDOW UNTIL YOU SEE YOUR ARTWORK IN THE PROOF AREA!
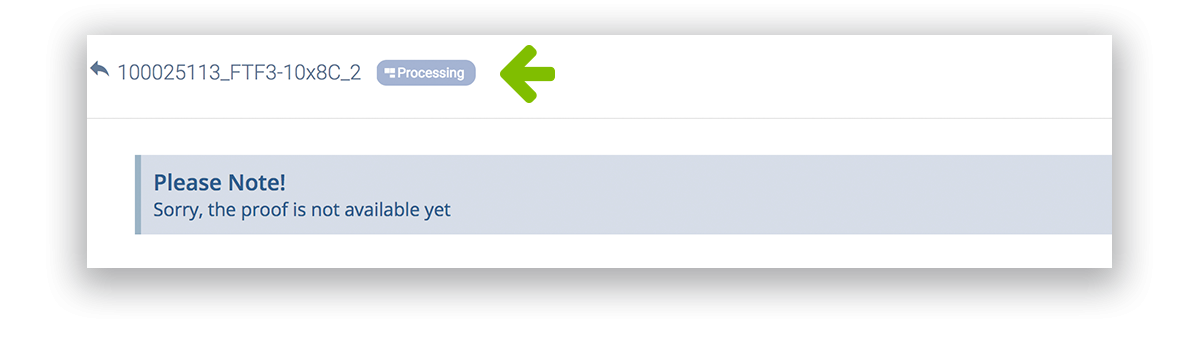
Leave your browser tab open while the upload completes. The uploaded file will be processed and a proof will be created. This generally takes a few minutes but the larger the file, the longer it will take - thanks for being patient!
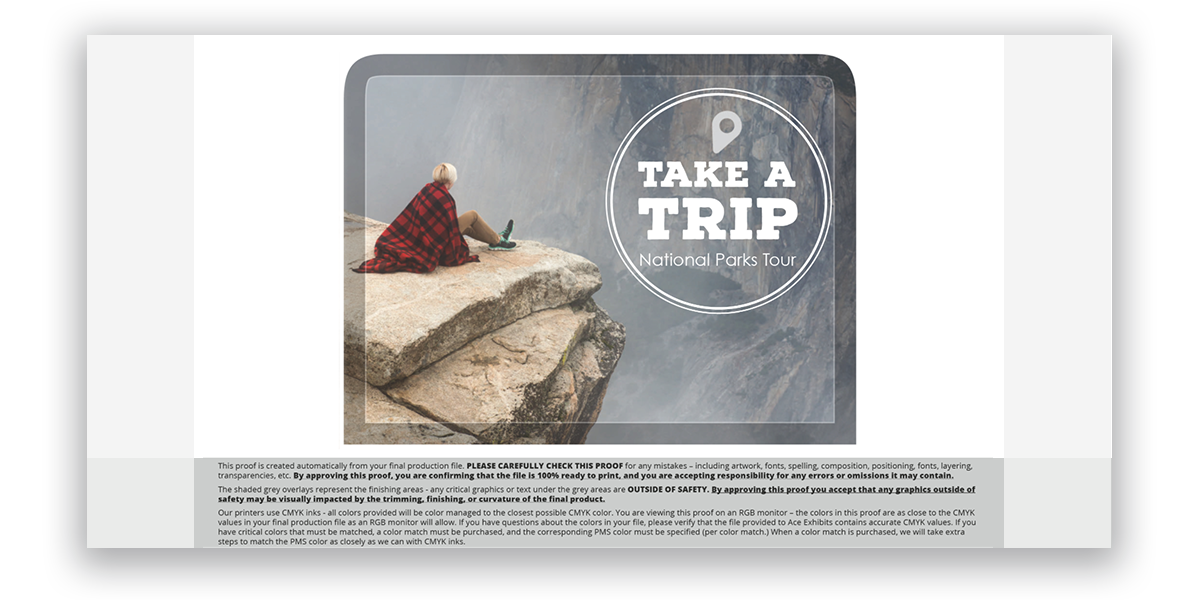
Once the proof is ready you will see your artwork in the proof area. The artwork approval system will also notify you via email that the job is Awaiting Approval.
-
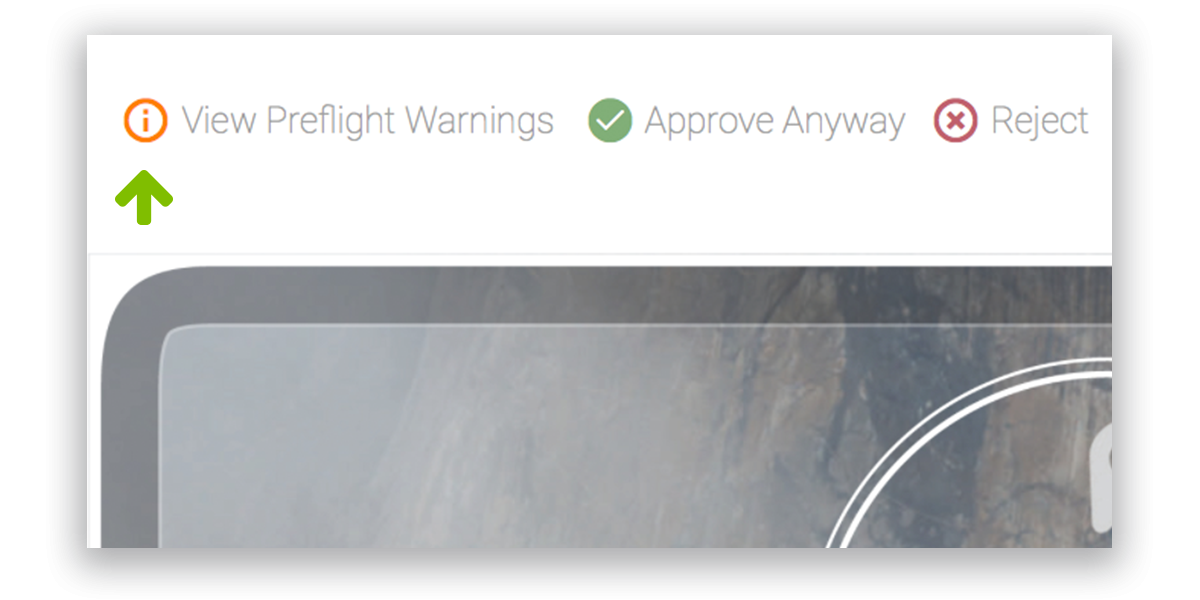
At this point you may see a View Preflight Warnings icon. If you do, this means there are issues with your artwork that may need to be resolved. For help with this, click View Preflight Warnings to review the details, and review our Artwork Guidelines for possible solutions. You can also contact our Graphics & Prepress Department for help.
When you have corrected your artwork, see the next section for details on how to submit a revision. If your artwork does not have any Preflight issues – great job! -
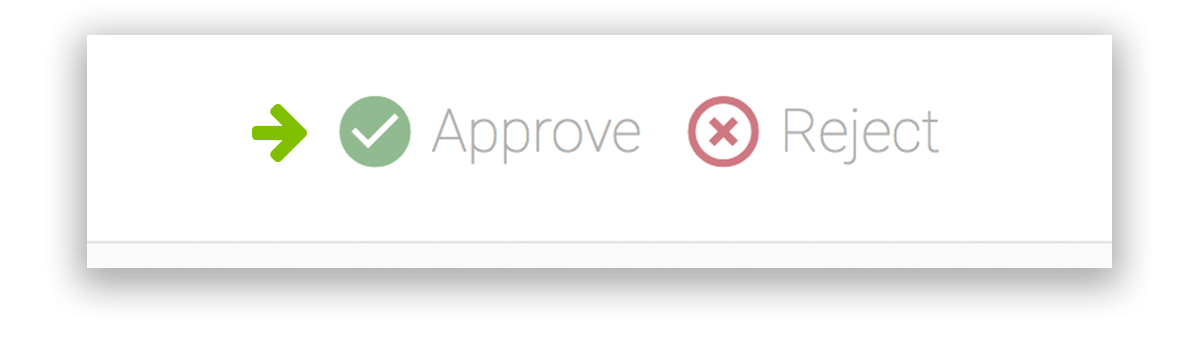
If for any reason you’d like to upload a new file, click “Reject.” This will change the status of the job to Waiting for Revision and will allow you to start over again at the Upload Your Artwork step. Remember that all Jobs (Graphic Products) within your Order need to be approved before Production begins. Be conscious of your timeline and don't forget to upload and approve your revised artwork!
-
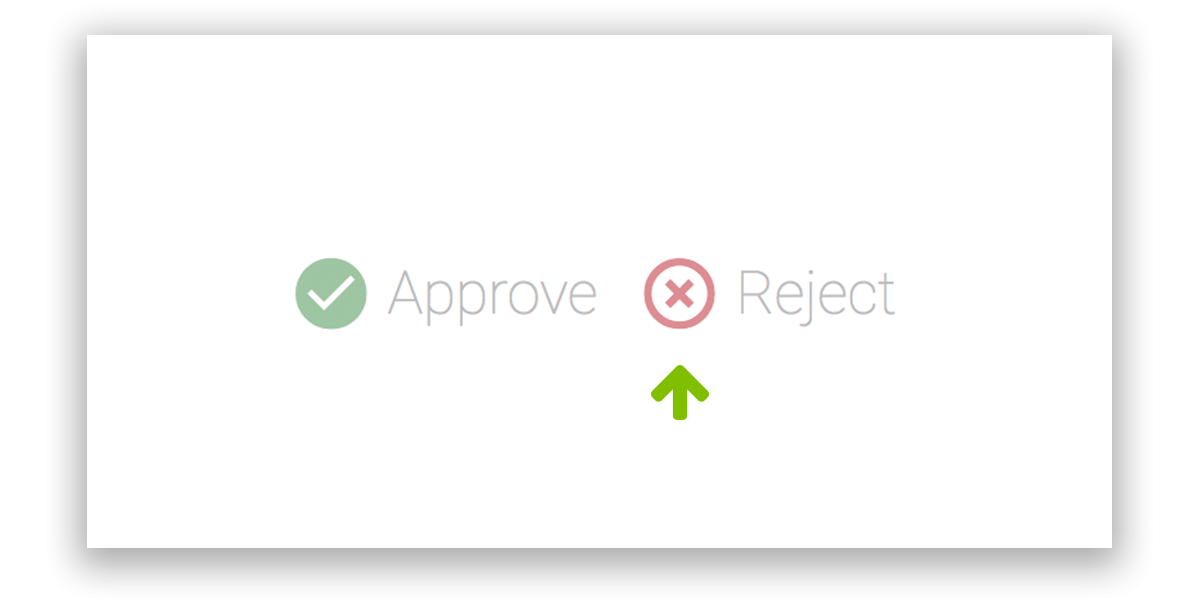
The bleed area of your design is cropped off the proof, and the grey overlay around the border indicates the unsafe area within your design. In general, critical logos, text, etc. should not be under the grey unsafe area. If everything looks good, move onto the next step, Approve Your Artwork.
-
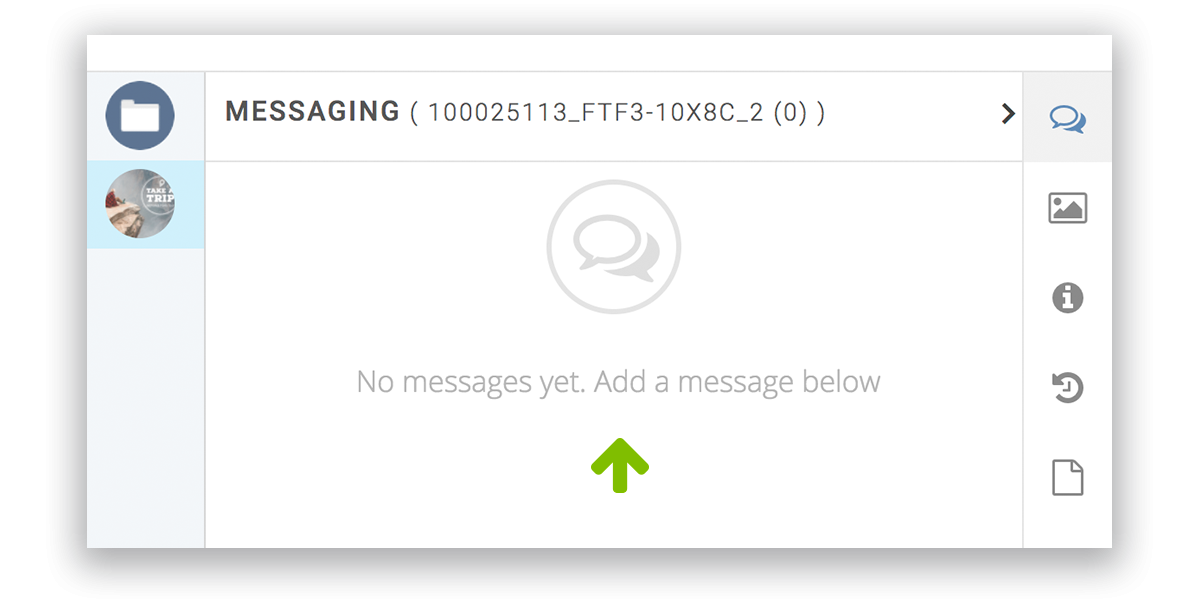
If you have any questions about your artwork, please use the Comment pane to send a message to our Graphics & Prepress staff. NOTE: the comments pane is not a live chat! We will do our best to respond quickly, but please think of it more like an email than a chat.
If your artwork looks correct and ready to print, click the green Approve button and we’re on our way!
ALL JOBS ASSOCIATED WITH AN ORDER MUST BE APPROVED BEFORE PRINT PRODUCTION WILL BEGIN!
Our Graphics team will review your artwork AFTER you approve it. If a problem is found, Graphics may un-approve your artwork and message you with details. Please be ready to communicate with Graphics to quickly resolve any issues and avoid production delays! If you have any questions or if you would like a PDF version of the instructions above, please do not hesitate to email our Graphics & Prepress Department at [email protected], or send us a comment via the Comment pane inside your Job in Instaproof.